From the image in your head, or on your screen,
to the exact piece in your hands.
Turn any photo, sketch, or concept image into a working reference sized to your exact scale, then lay down a brushstroke, cut your first piece of foam, stitch a seam, or sculpt a miniature knowing it's already right. No tedious math, no wasted materials.
Try it nowFive steps, photograph to finished piece.
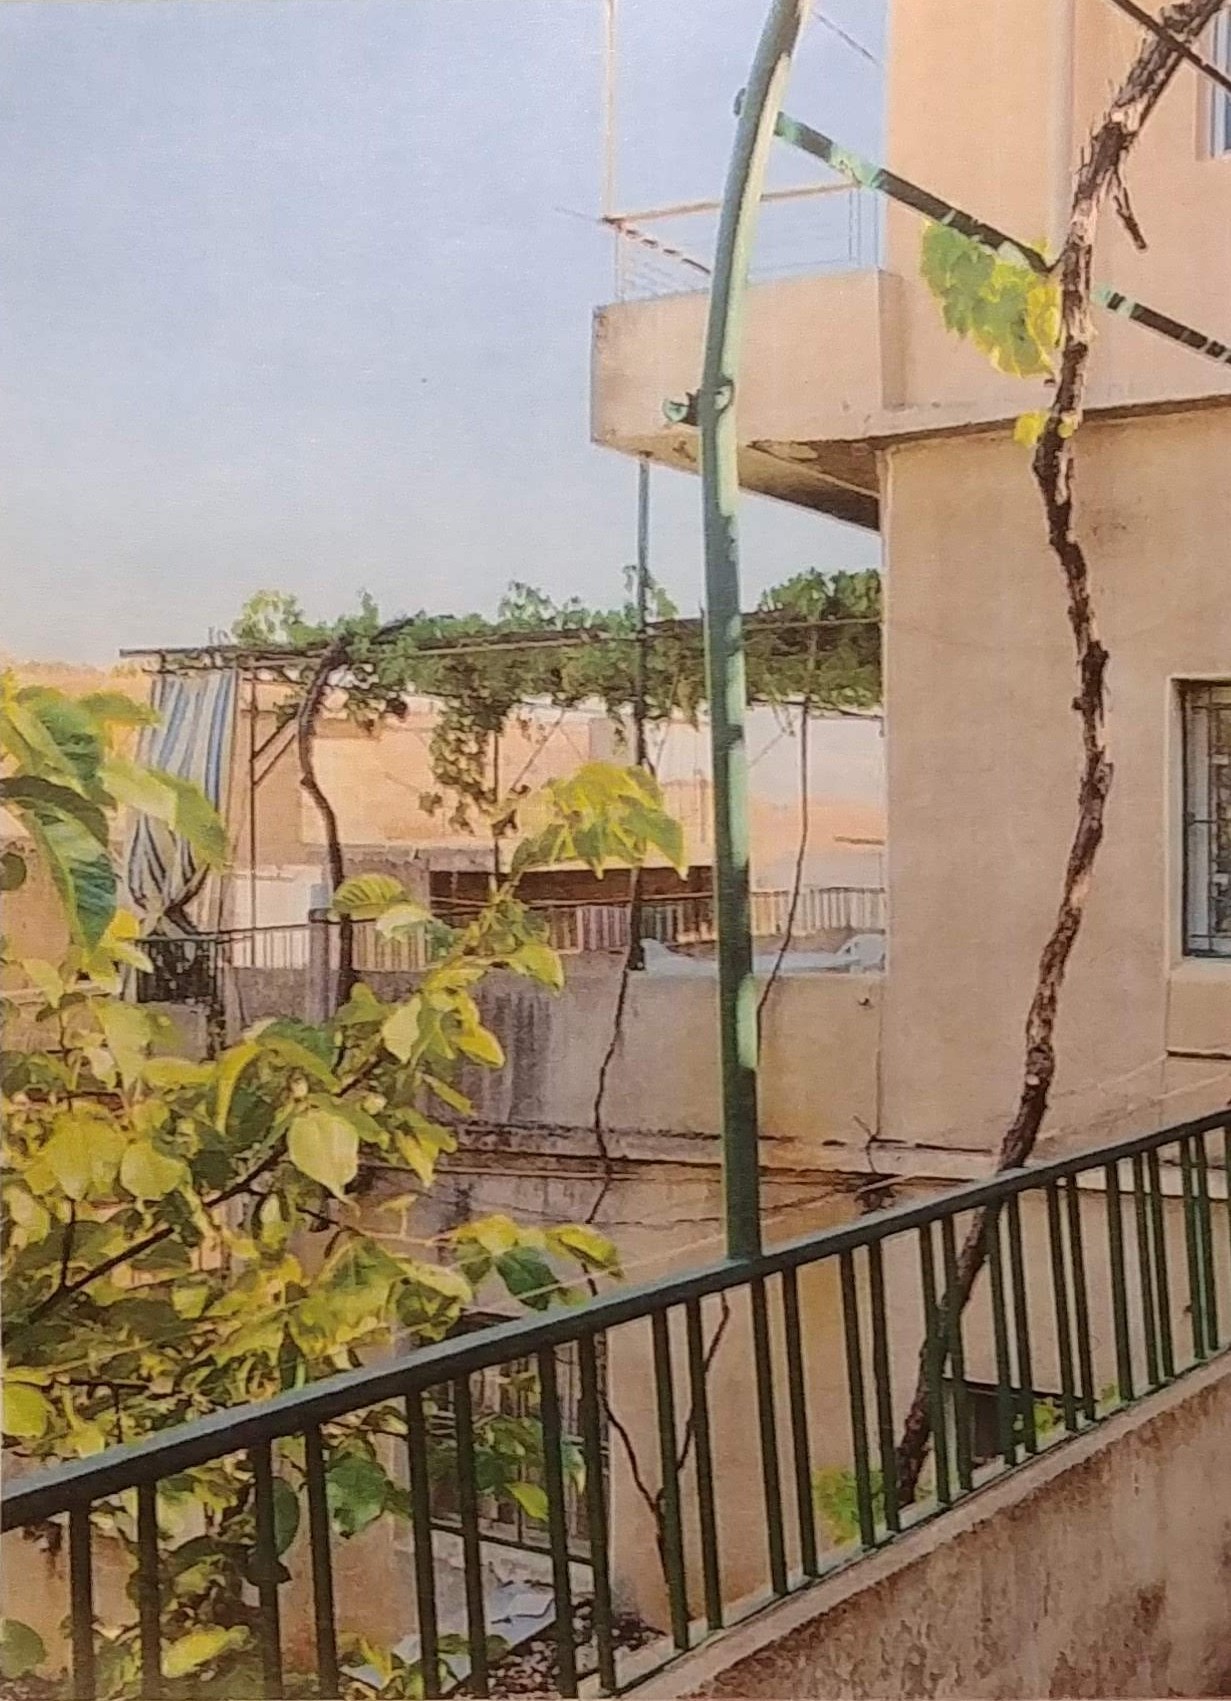
Step 1 Your image
Start with the photo, landscape or sketch you want to make. Drop it in from your phone, camera or screen grab.
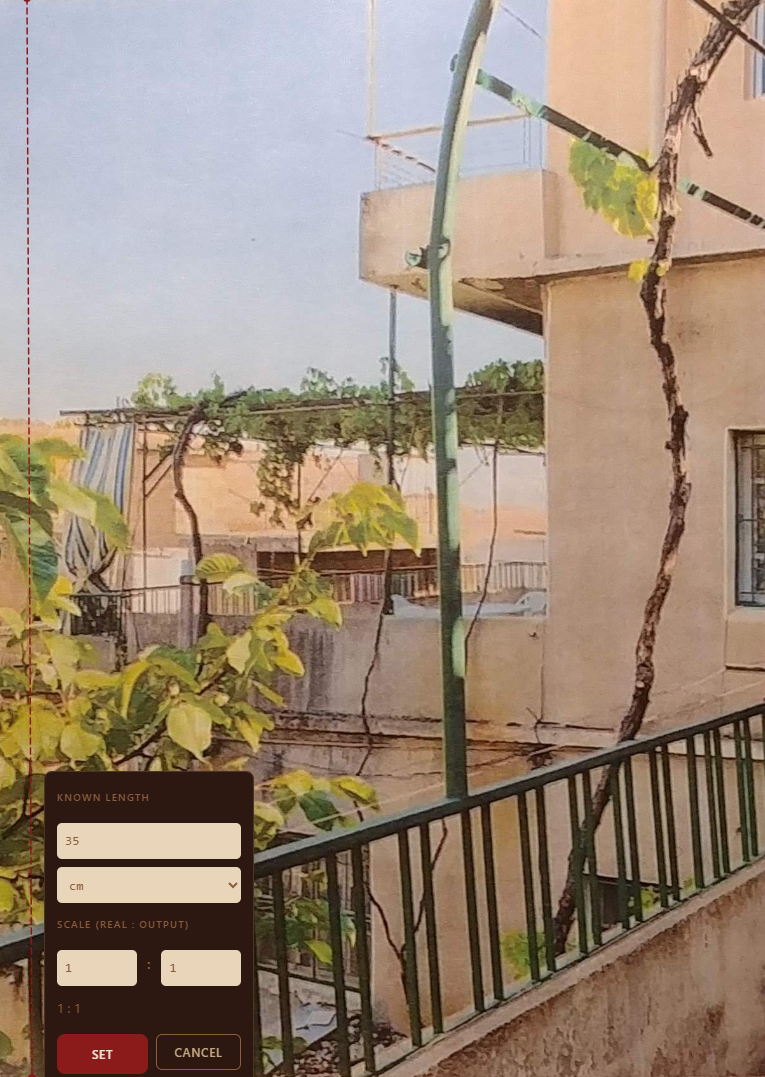
Step 2 Your size
Mark one length you already know, then tell it the size you're working at. Every number after that is real.
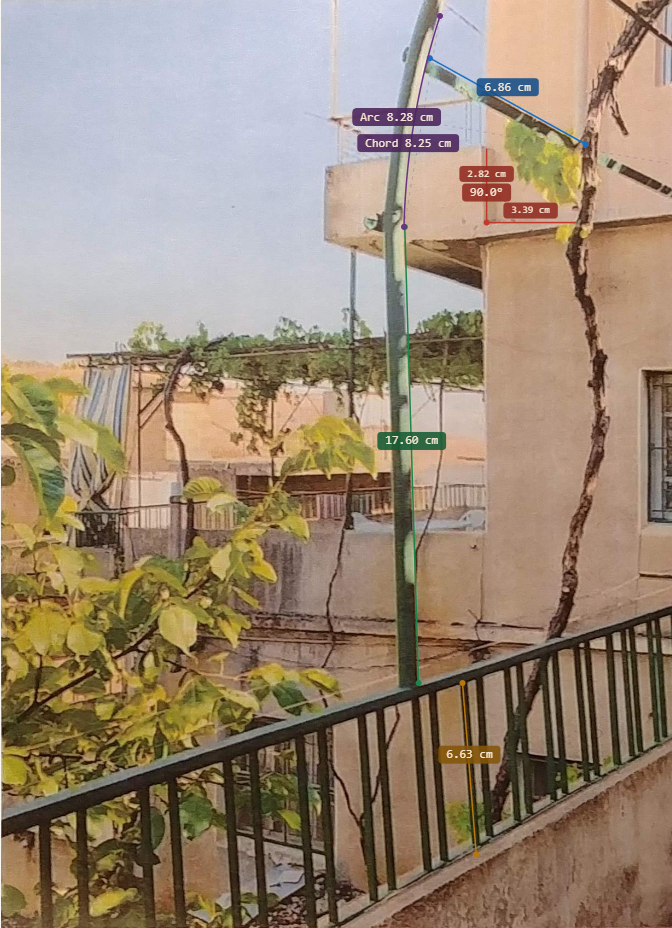
Step 3 Mapped
Lines, arcs, angles, circles and curves, measured across the reference and labelled at the size you'll draw them.
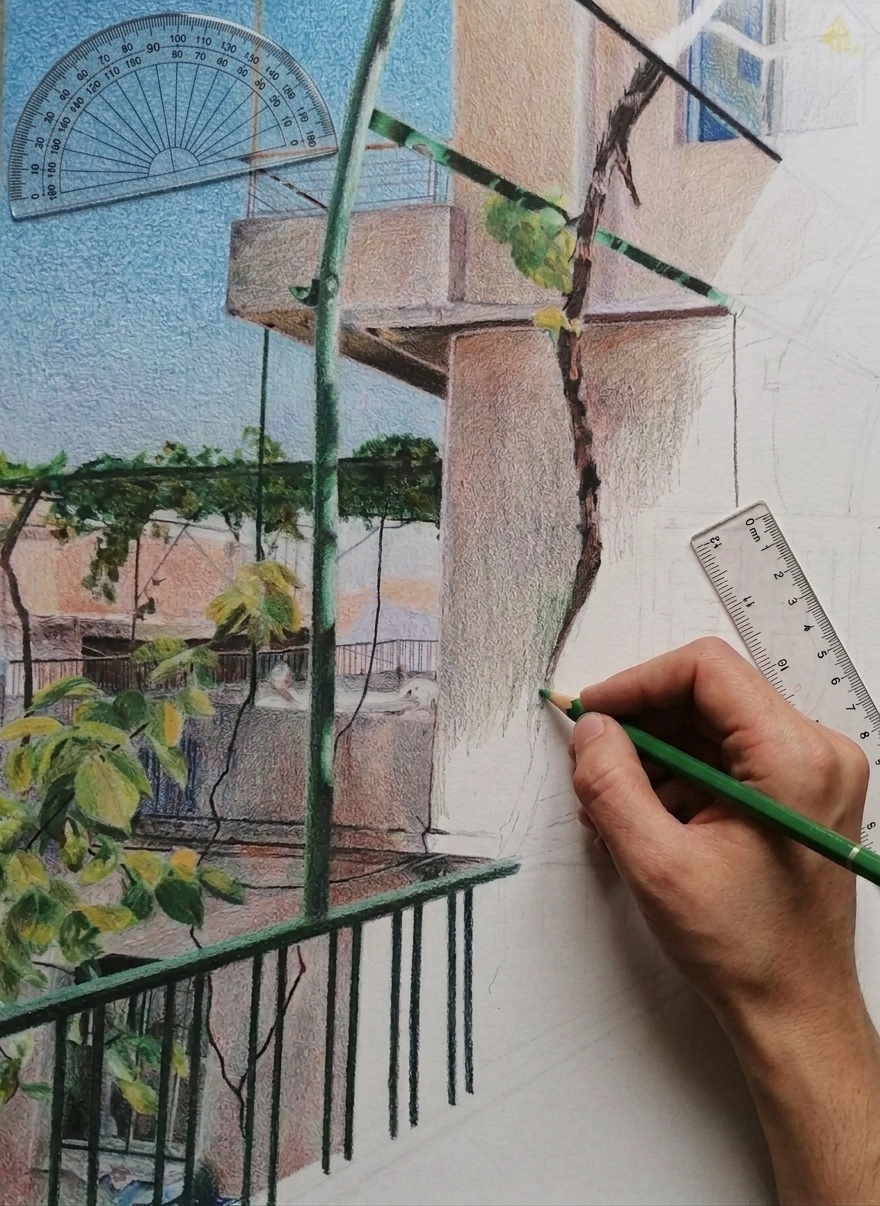
Step 4 Create
Carry the proportions straight onto the page, canvas, fabric or panel. No guessing, no redrawing.
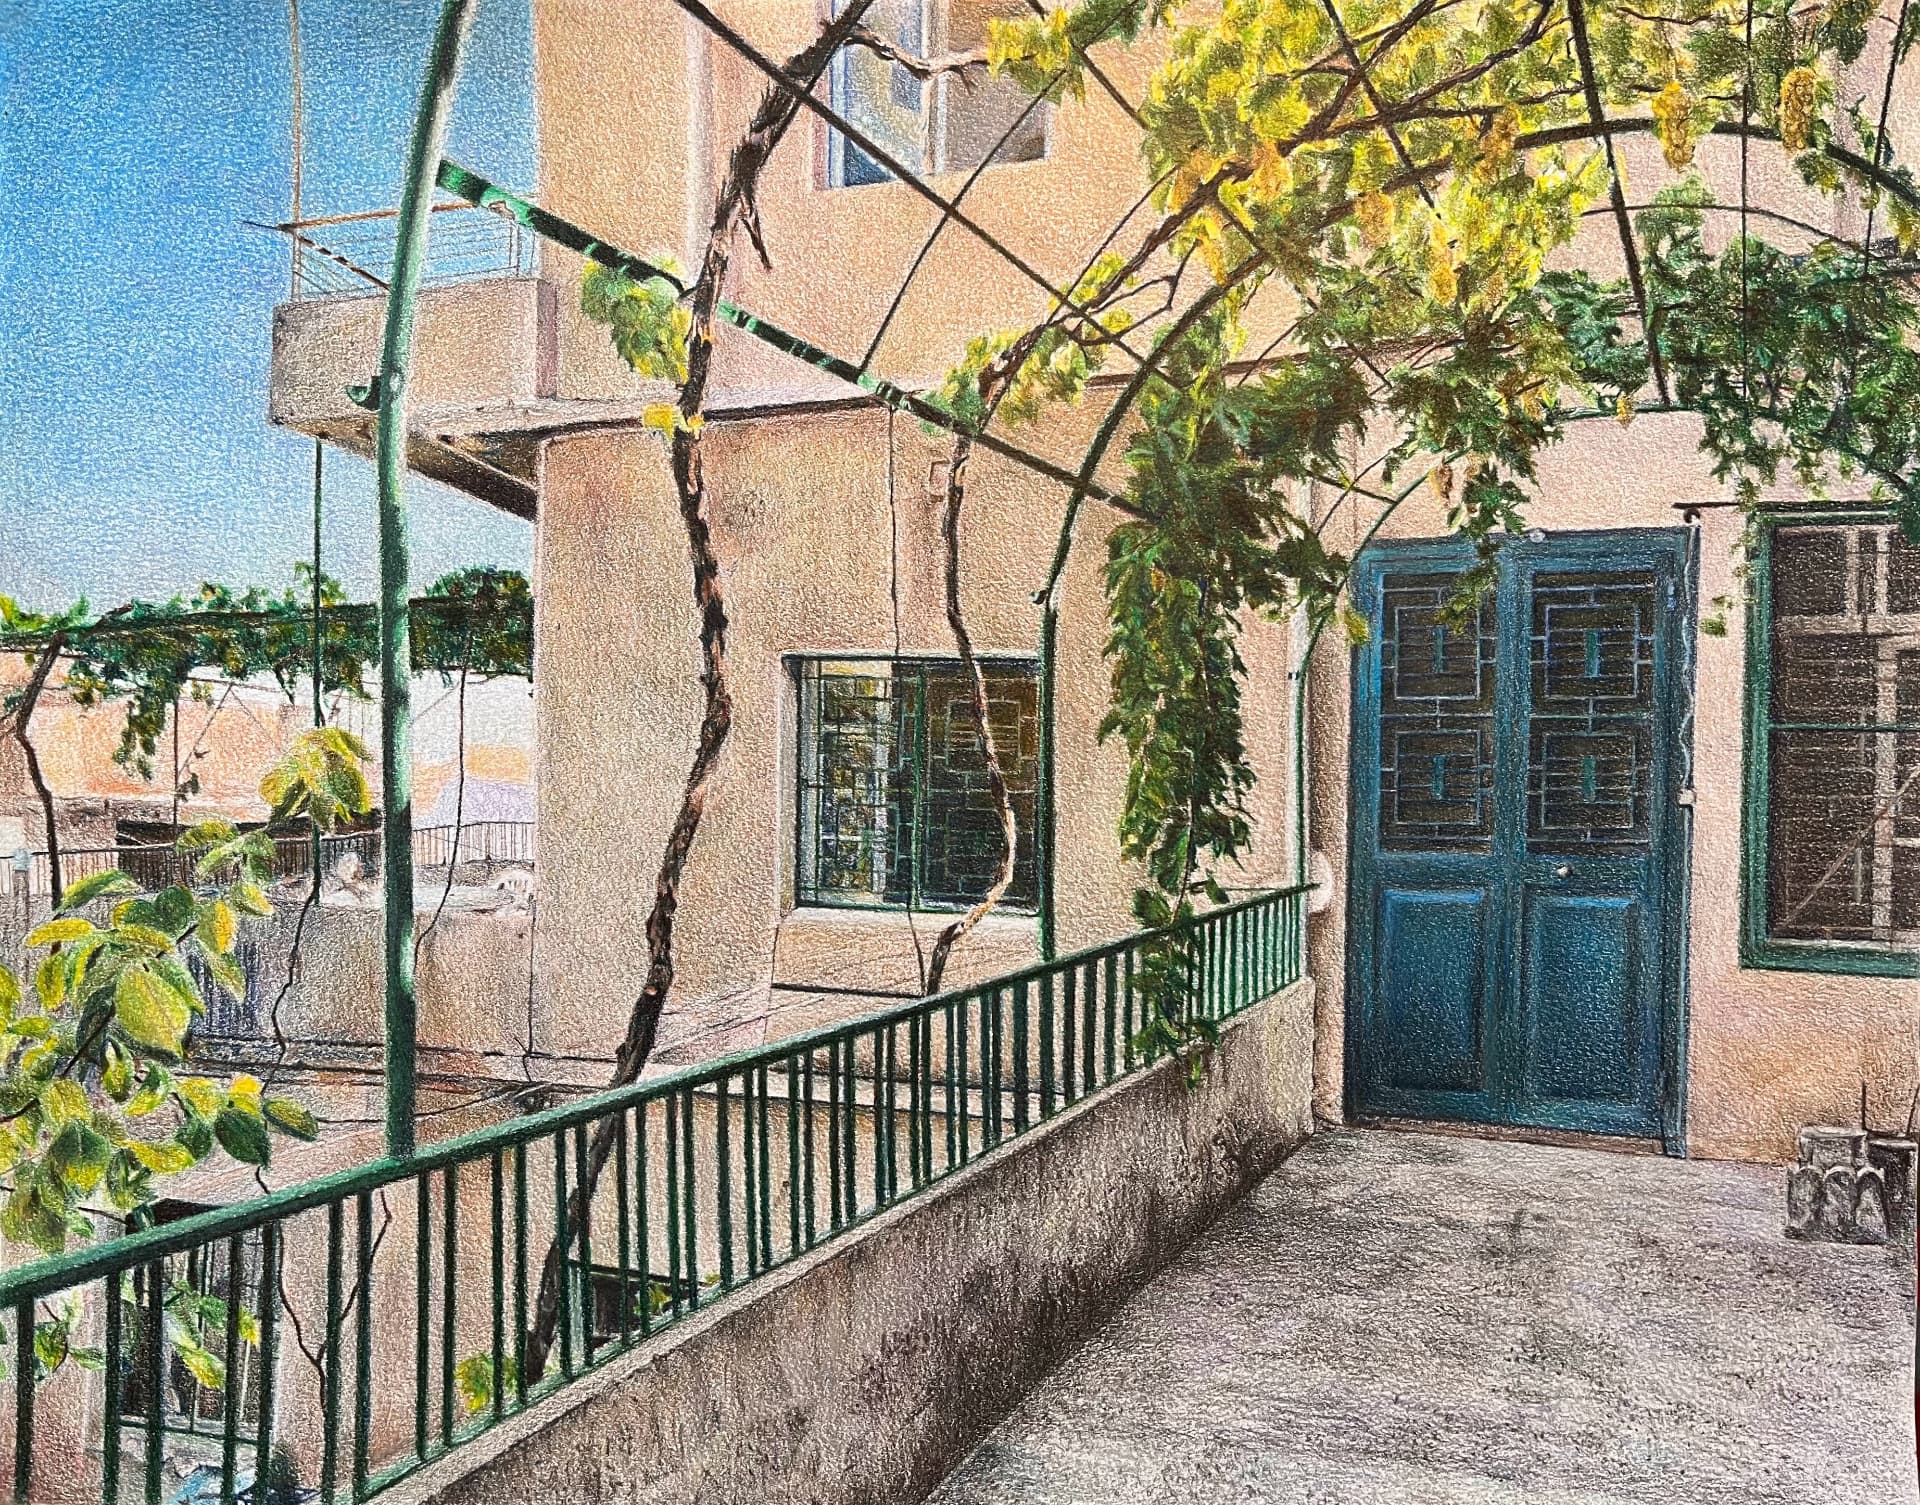
Step 5 Finished piece
The image you loved, made by hand at true size, and it lands right the first time.
Everything the transformation needs
Work at the size you're making it
Scale any reference up or down to true output dimensions. Set one known length and every other measurement recalculates, so a photo becomes a full-size pattern, panel or canvas.
Capture the shapes that matter
Line, arc, rectangle, circle, angle and freehand curve. Trace a three-point arc around a curved edge or read an angle straight off the image, precision measurement for the parts that aren't straight.
Straighten what the camera skewed
Four-point perspective correction flattens an off-angle photo before you measure, so a scene shot from the side still gives you angles and proportions you can trust.
Wherever you're making it
Desktop for close measuring, iPad and Apple Pencil for drawing by hand, phone for a quick reference shot on site. Same project, same accuracy, any device.
What people make with it
- Cosplay
- Prop making
- Pattern sewing
- Scale modelling
- Artwork
- Garment & fabric design